Follow-Up and extension audit/assessment
This chapter describes the process how a follow-up or an extension audit/assessment is created.
1. Dashboard
Select one or more IFS Standards, Programs or Checks from the dashboard and start the audit/assessment.

2. Start process
The start process prepares the (combined) audit/assessment file.
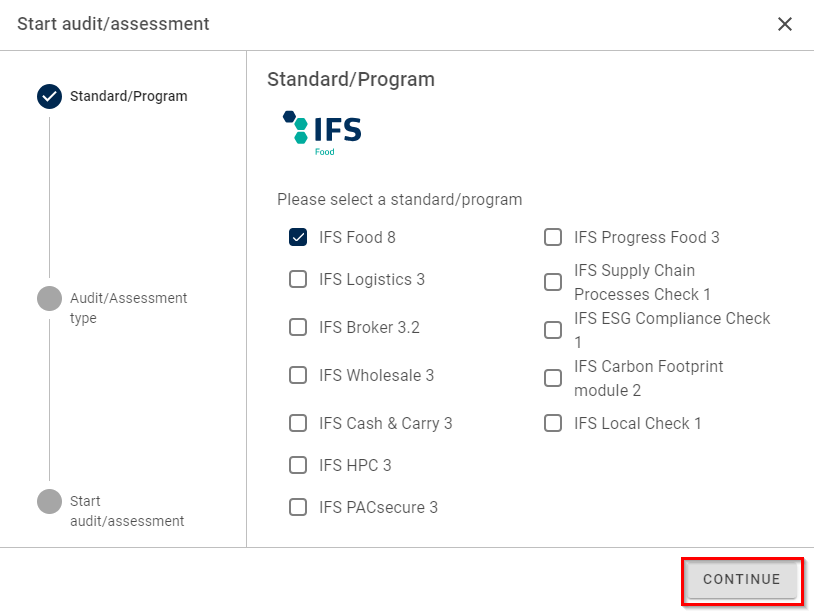
In the first step, the selected IFS Standards, Programs or Checks can be adjusted if needed.
Click CONTINUE to proceed with the audit/assessment configuration process.
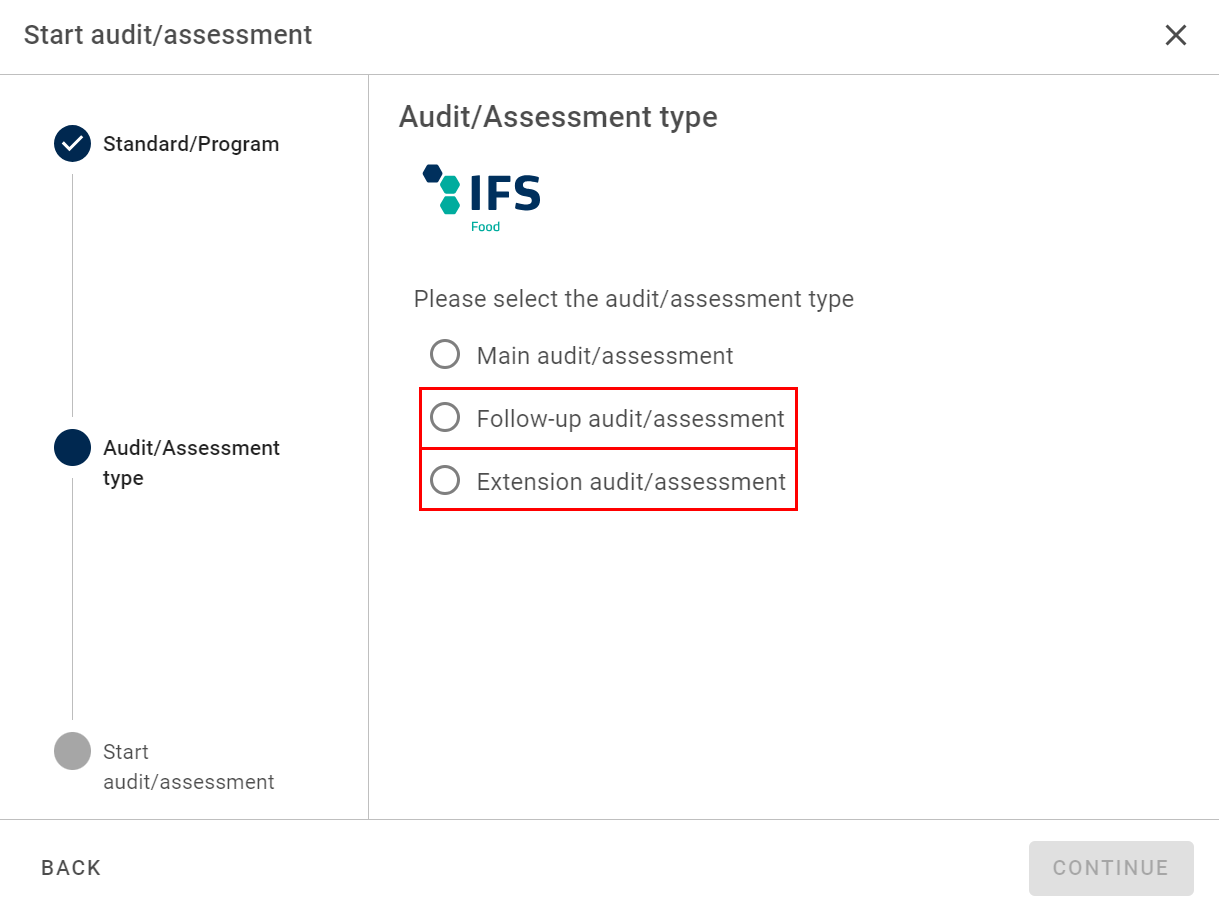
3. Selection of follow-up and extension mode
Please select Follow-up audit/assessment or Extension audit/assessment.
Click CONTINUE to proceed with the upload of the previous main audit/assessment file.
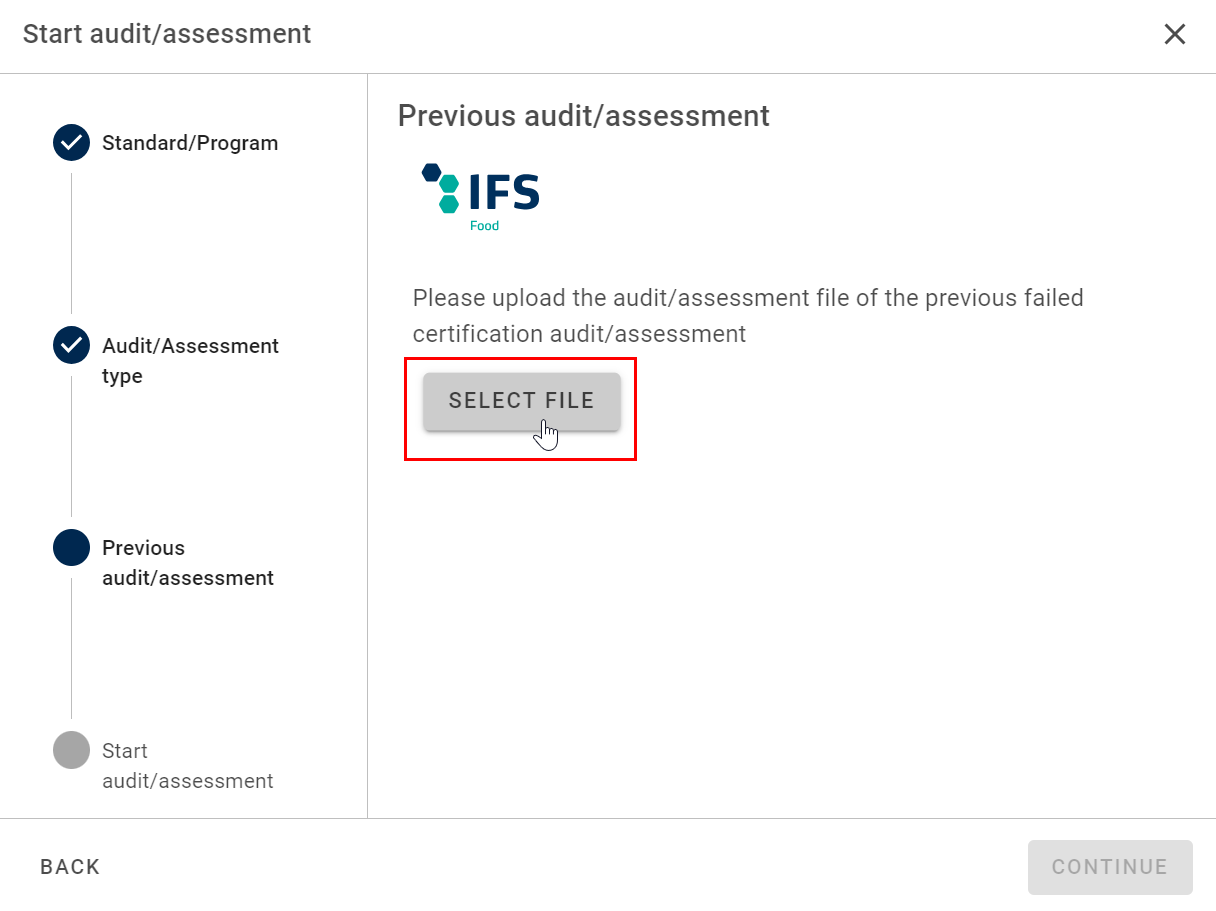
4. Upload of previous main audit/assessment file
Select the file from the previous main audit/assessment by clicking on SELECT FILE.
For of a follow-up audit/assessment is the result of the previous audit/assessment until/unless further actions are taken required.
For an extension audit/assessment is the result passed required.
Click on CONTINUE to start the audit/assessment.
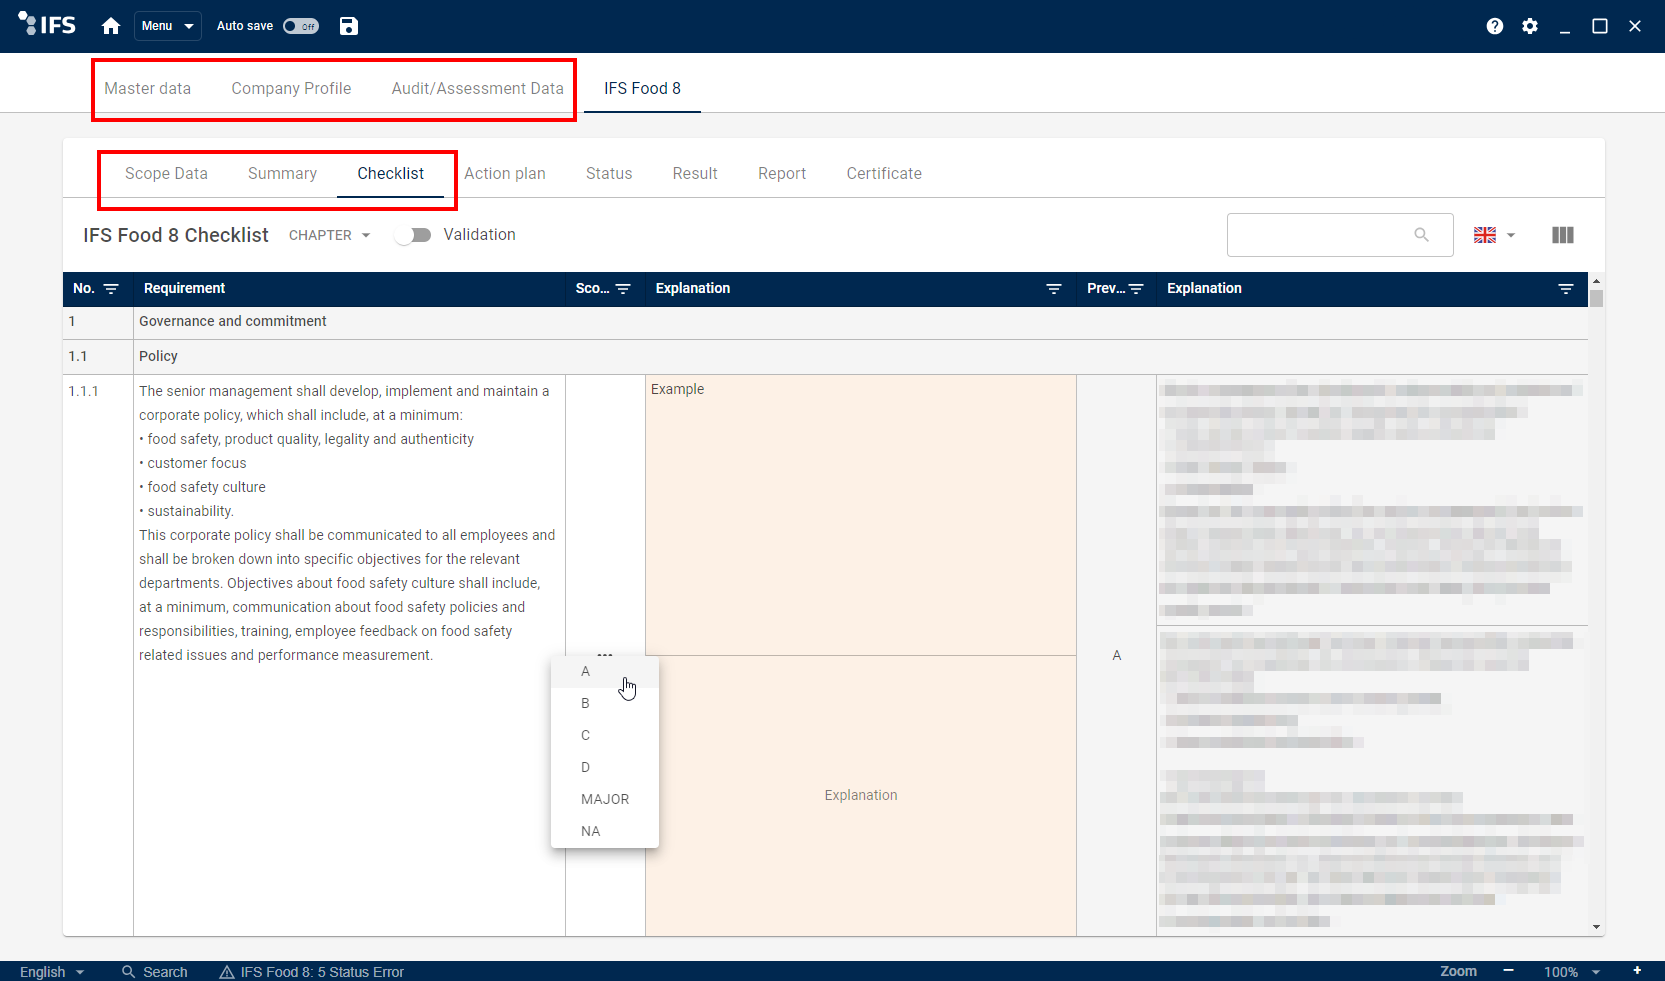
5. Audit/assessment information
The most information will be prefilled from the imported main audit/assessment file. Check the prefilled information and fill in the missing information in the tabs Master data, Company profil and Audit/Assessment data. Fill in the standard/program related information in Scope data and Summary. Please enter to the checklist at least one requirement.
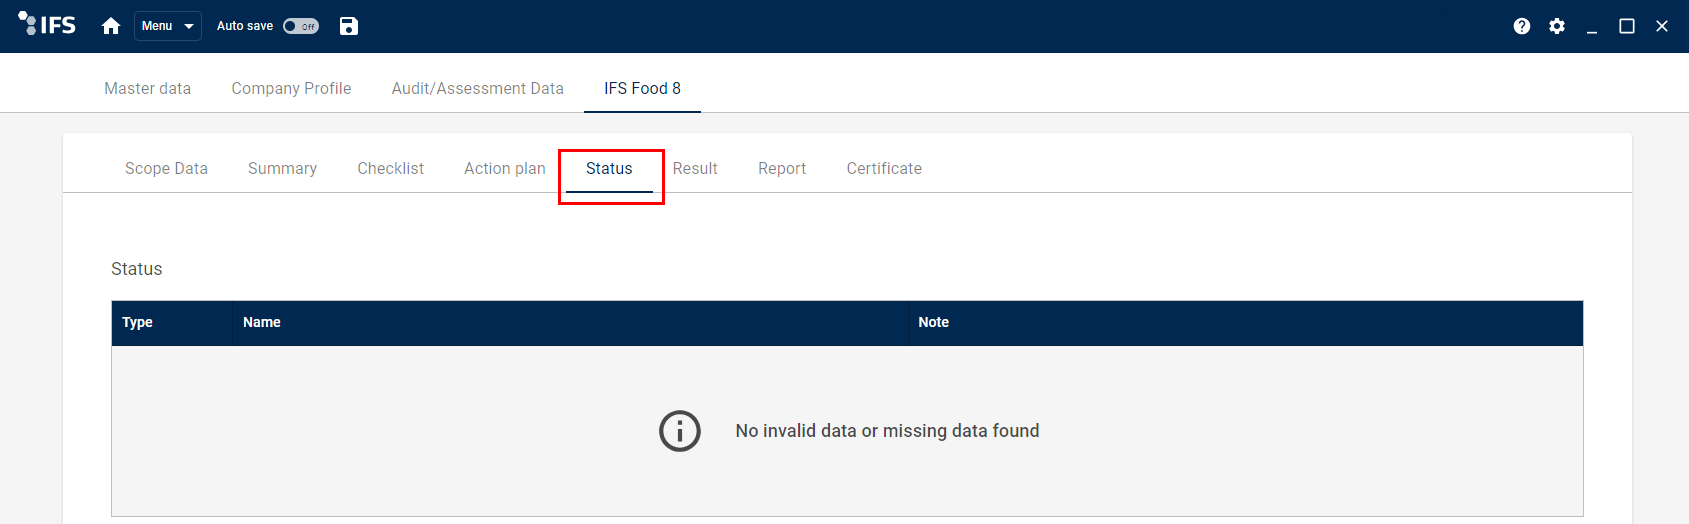
6. Status validation
Please validate under the tab Status if the file is complete and all information was entered.
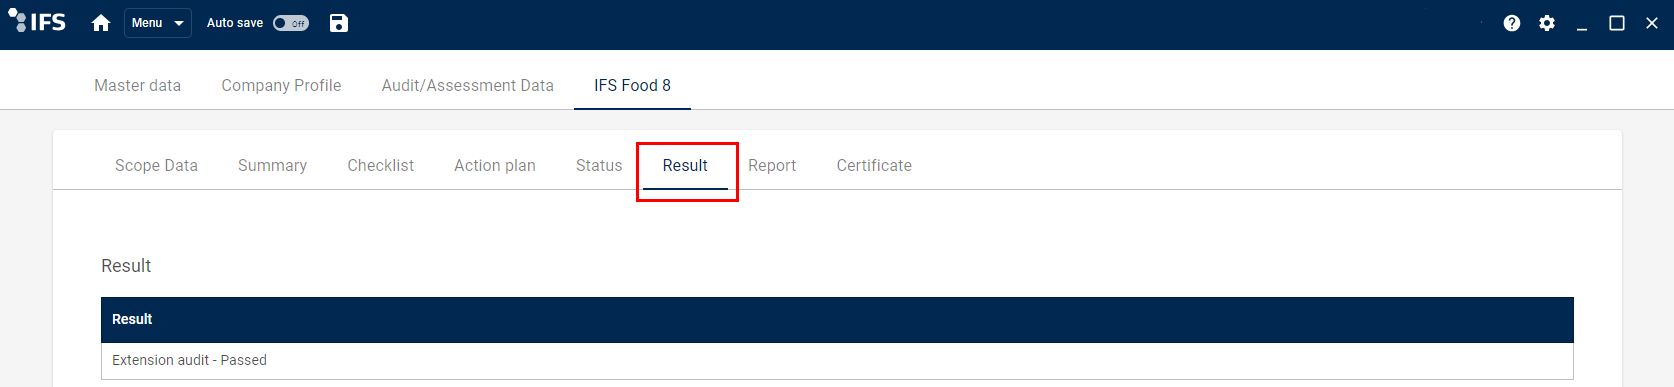
7. Result
The result of the follow-up or extension audit/assessment is shown in the tab Result.
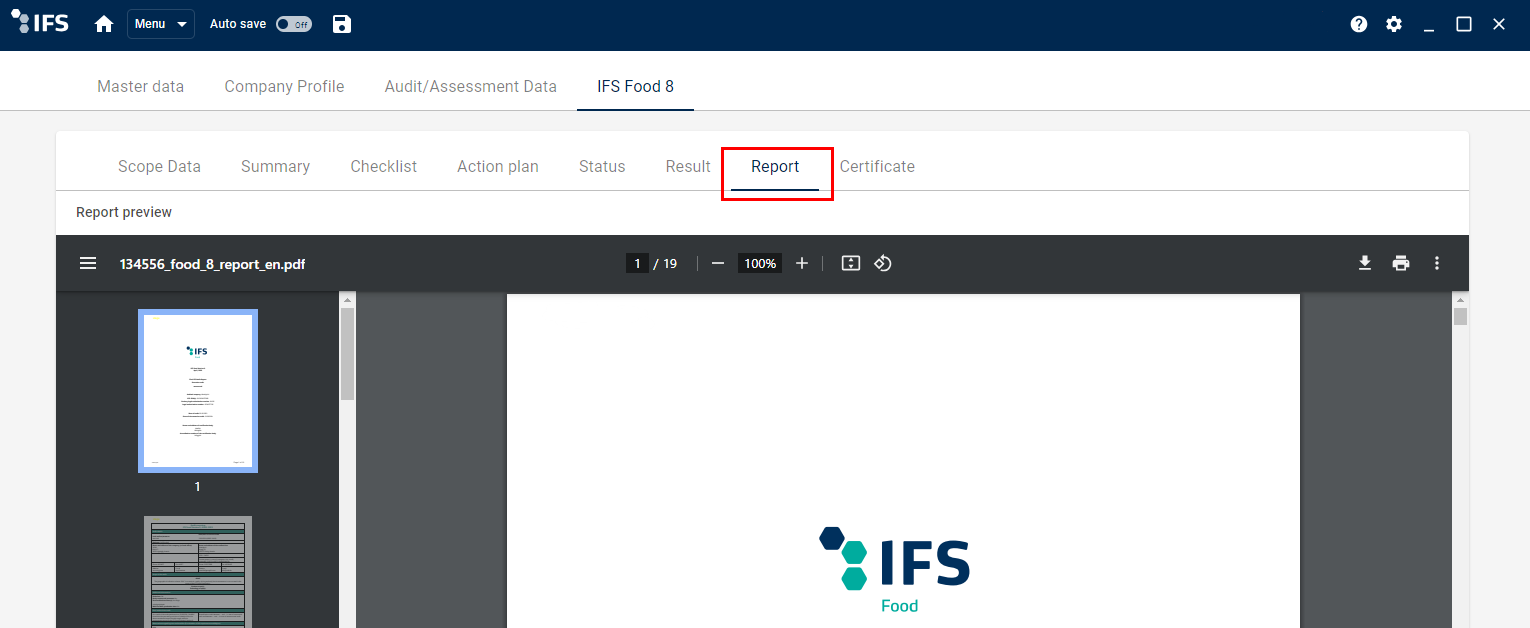
8. Report
If all data is entered and the status is checked, you can generate the report. Use the flag symbol to select the language in which the report should be generated.

If you have stored customised report cover page templates on your computer, a template drop-down menu is shown (see Usage of customised templates).
Download, print or save the pdf report ![]()
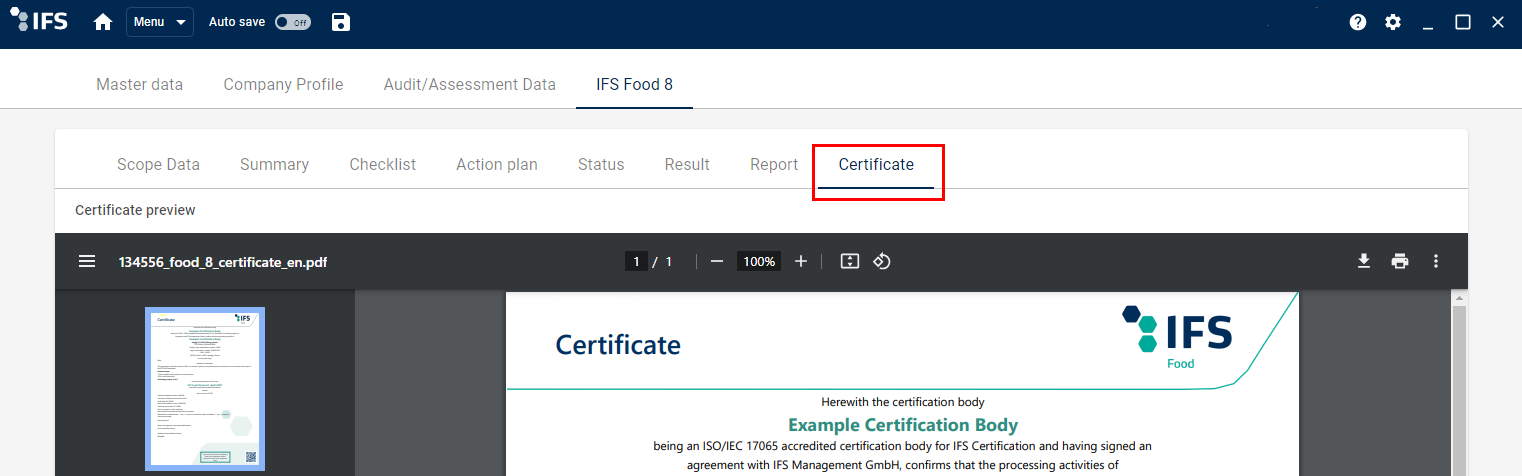
9. Certificate/Letter of confirmation
This tab is active if a licence has been deposited. Generate the certificate/letter of confirmation by a click on the displayed button. Use the flag symbol to select the language in which the certificate should be generated.
If you have stored customised certificate/letter of confirmation templates on your computer, a template drop-down menu is shown (see Usage of customised templates).
Download, print or save the pdf report ![]()