General handling
1. Main menu bar

AuditXpress Neo can be started with a double click, either on the desktop icon, or on the .ifs file icon. The software allows to open multiple sessions at the same time.
1.1 Explanation of the menu bar symbols:
The blue menu bar at the top of the application is for the administration of the application and for adjustments in the user settings.

| Symbol | Explanation |
|---|---|
 | A click on the |
 |
|
 | Click on the |
 | Click on the |
 | Once the .ifs file is saved, the system displays the storage location in the menu bar. |
 | An update is available. Please click on the |
A click on the | |
 | A click on the |
With these icons, you can minimize, maximize or close the application. |
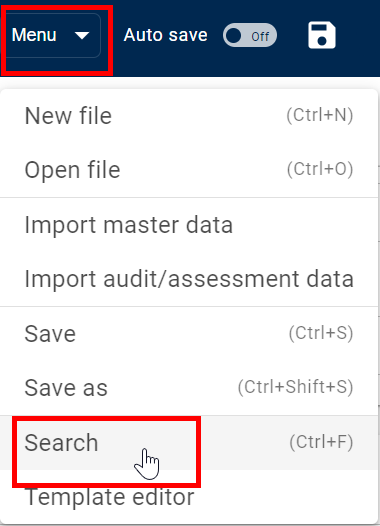
1.2 Management menu:
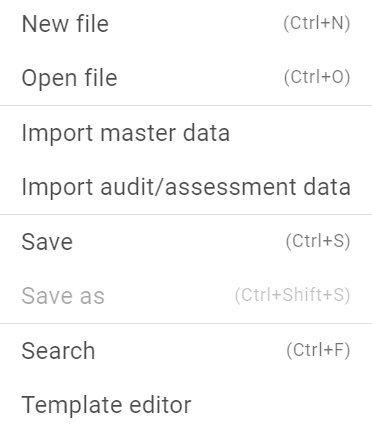
Click the -Button in the top menu bar to open the file management menu. In the menu you can select the following options:
- New file: You can open a new AXP Neo file.
- Open file: You can open an existing file.
- Import Master Data (see Import master data)
- Import Audit Data (see Import audit data)
- Save: You can save your current file.
- Save as: You can save your current file under a new name.
- Search: You can search for keywords within the file across all tabs (see global search function).
- Template editor (see Template editor)
1.3 Import master data
As CB and auditor user in the IFS Database, you can import the master data of a customer by clicking in the file management menu on Import master data.
Enter in the upcoming window the COID of the customer, your e-mail address and password you are using to login to the IFS Database.
Click on SUBMIT to import the master data from the IFS Database to the file.
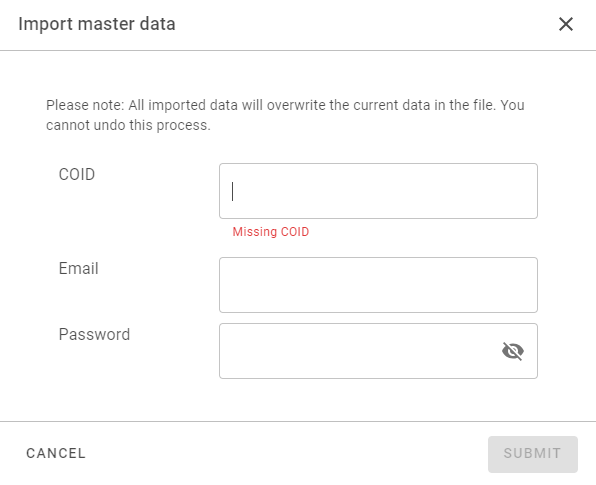
The imported data will overwrite the current data in the file. You cannot undo this process.
1.4 Import audit data
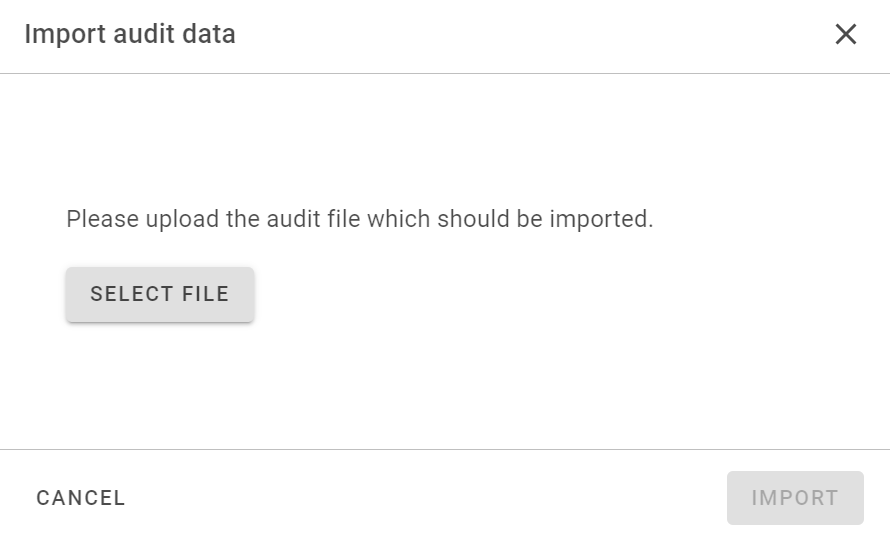
You can import files from previous audits/assessments by clicking in the file management menu on Import audit data.
To select a previous audit/assessment file, click on SELECT FILE.
The import of AXPX (.axpx) and AXP Neo (.ifs) files is possible.
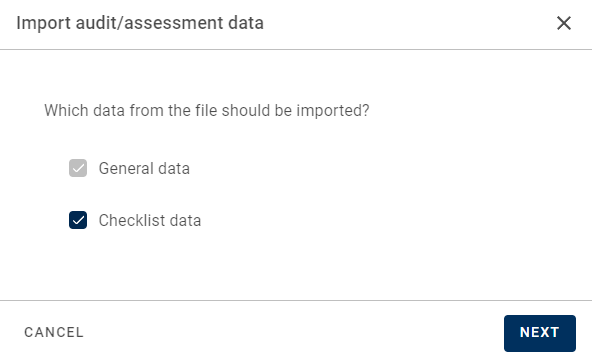
Select whether you want to import only the general data or the checklist data as well.
Select whether you want to overwrite existing data in the file.
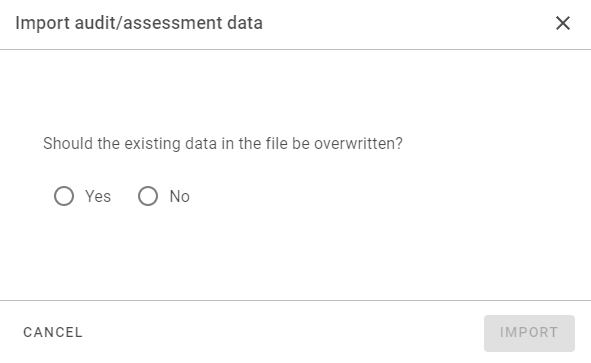
If you select Yes and the data is overwritten, the process cannot be undone.
1.5 Application and user settings (incl. licences)
Click the ![]() -icon in the top menu bar to enter or adjust the application and user settings. The settings menu is structured into the following tabs:
-icon in the top menu bar to enter or adjust the application and user settings. The settings menu is structured into the following tabs:
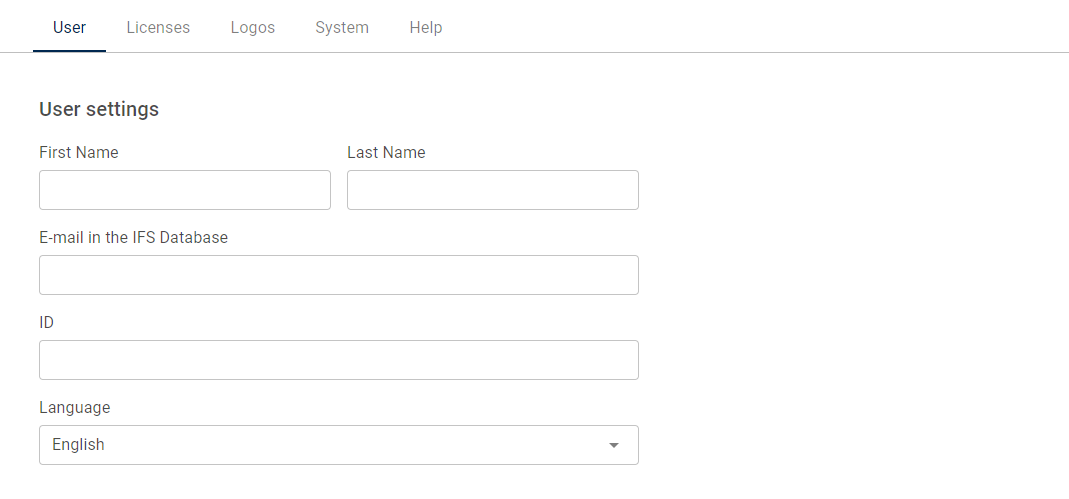
1.5.1 User
- Possibility to fill in user data. You can store here your e-mail address, you are using to login into the IFS Database. This e-mail address will also be used for the Import master data function See Import master data.
- Change of application language
1.5.2 Licences
- Add licences with a click on the button ADD LICENCE.
- Delete licences with a click on the
 -icon
-icon
The licences for AXP Neo are generated in the IFS Database in the same way like for all other IFS Standards.
The licence key from the previous software auditXpressX (AXPX) can be used in AXP Neo, too. This allows to run both applications in parallel, if needed.
The key symbol ![]() appears if a licence is added for a standard, program or check.
appears if a licence is added for a standard, program or check.
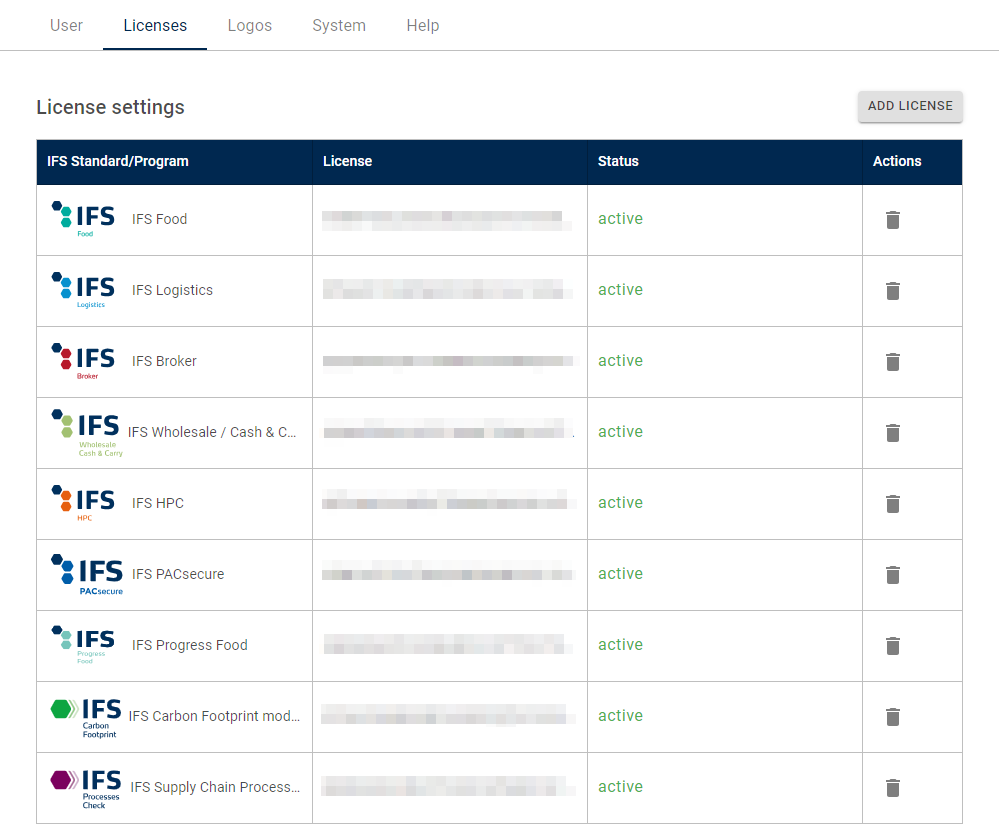
This function is intended for certification bodies only.
1.5.3 Logos
You can store your certification body / assessment provider logo and, if applicable your accreditation body logo here. AXP Neo prints the uploaded logos on the report and certificate/letter of confirmation. Click on the button UPLOAD FILE to add the logos to AXP Neo.
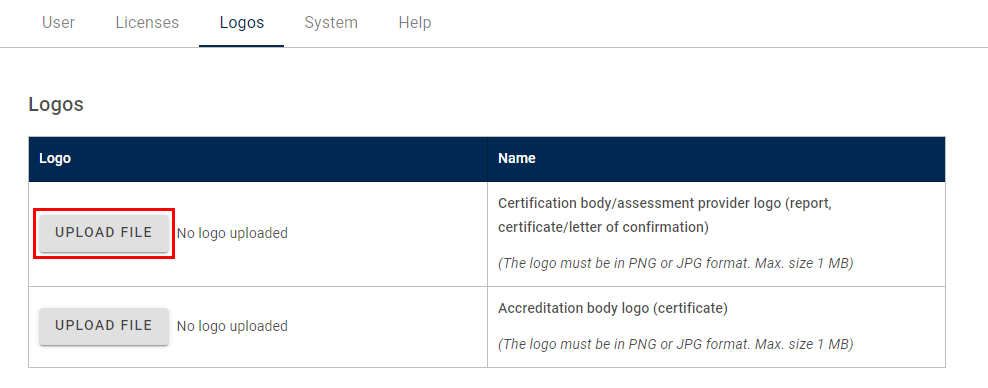
The logos must be in PNG or JPG format. Max size 1 MB.
1.5.4 System
The current application version number is displayed in the tab System. You can manually verify if your installed software version is up to date by clicking on the button CHECK FOR UPDATES.
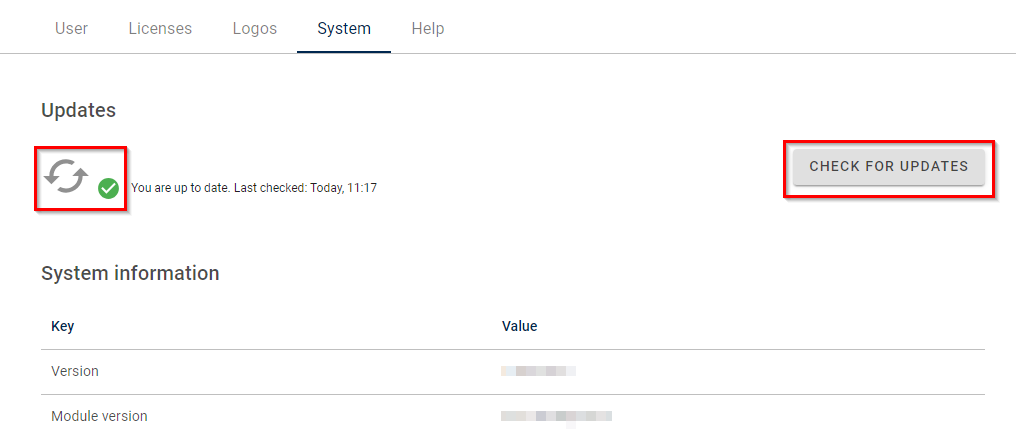
Update check details and outcomes:
| Symbol | Explanation |
|---|---|
 | Click on the CHECK FOR UPDATES to search for new updates. |
 | If the last check was done today and the software is up to date, the up to date icon and the last checked date are shown. |
The warning icon is displayed if the version is not the latest. | |
The error icon appears if the latest version could not be installed. |
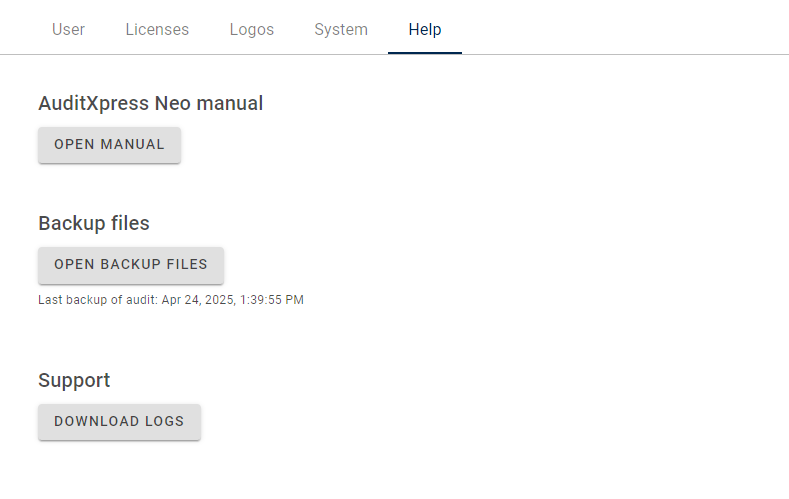
1.5.5 Help
The button OPEN MANUAL opens the online user manual for AuditXpress Neo.
Under the button OPEN BACKUP FILES can be found fallback/backup files of currently saved audits/assessments. If a file gets corrupted, a backup file can be opened and the audit file can be restored here. The date of the last backup is displayed under the button.
A backup file is generated each time the original audit file is saved. AXP Neo offers the latest 3 backup files for restoring.
The button DOWNLOAD LOGS can be used to export the AXP Neo log files in case an error occurred. The log files will help the IFS Customer Support to solve issues with the application.
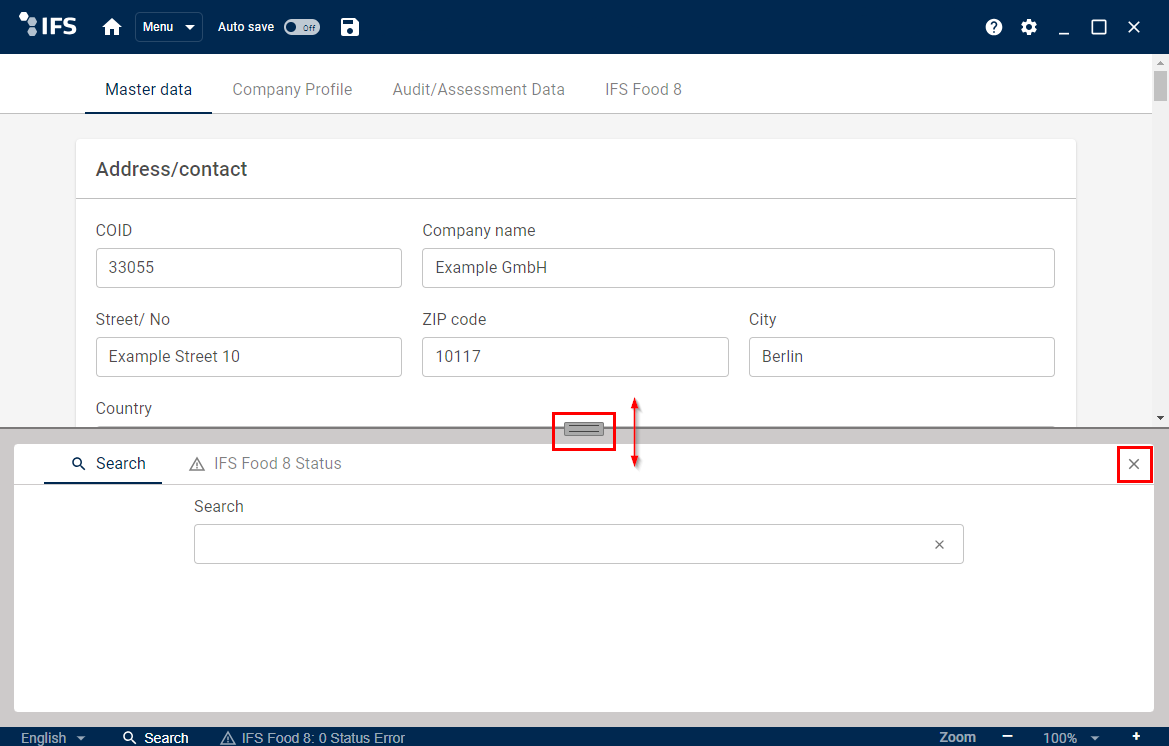
2. Panel menu bar
The blue panel menu bar is displayed at the bottom of the application window.

A click on an item in the panel will open the panel area.
- The size of the panel area can be adjusted with the
 -button.
 - The panel area can be closed again with a click on the
 -button or by a second click on the panel item.
2.1 Explanation of the panel menu items
The panel menu bar at the bottom of the application can be used for the fast access of useful functions during the audit/assessment.
| Symbol | Explanation |
|---|---|
 | Click on the displayed language to switch the application language. The language of the application can also be changed under settings >> user (see user). |
 |
|
 | Click on the status item to open the status check in the panel area. The status check in the panel area shows the same information like the status check displayed in the IFS Standard/Program area. A click on a data entry will redirect you to the corresponding data field. |
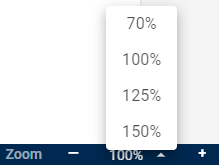 | Click on - or + to zoom in or to zoom out the screen and to navigate through AXP Neo easily. Click on % to directly select the percentage number of the zoom. The zoom function can also be used by using the key combinations:
|
2.2 Global search function
The global search function can be used to find keywords within the file across all tabs. The search function can be accessed in the following ways:
- By a click on the -item in the panel menu bar
- By pressing the key combination Crtl+F
- By selecting search in the context menu (right mouse click)
- By selecting search in the upper menu bar
To start the search, enter a key word in the search field and press enter. The search function shows the total number of the search results and lists the links to them. Simply click on a search result link to jump to the indicated place in the file. All search results are highlighted so that these can be detected in an easy way.
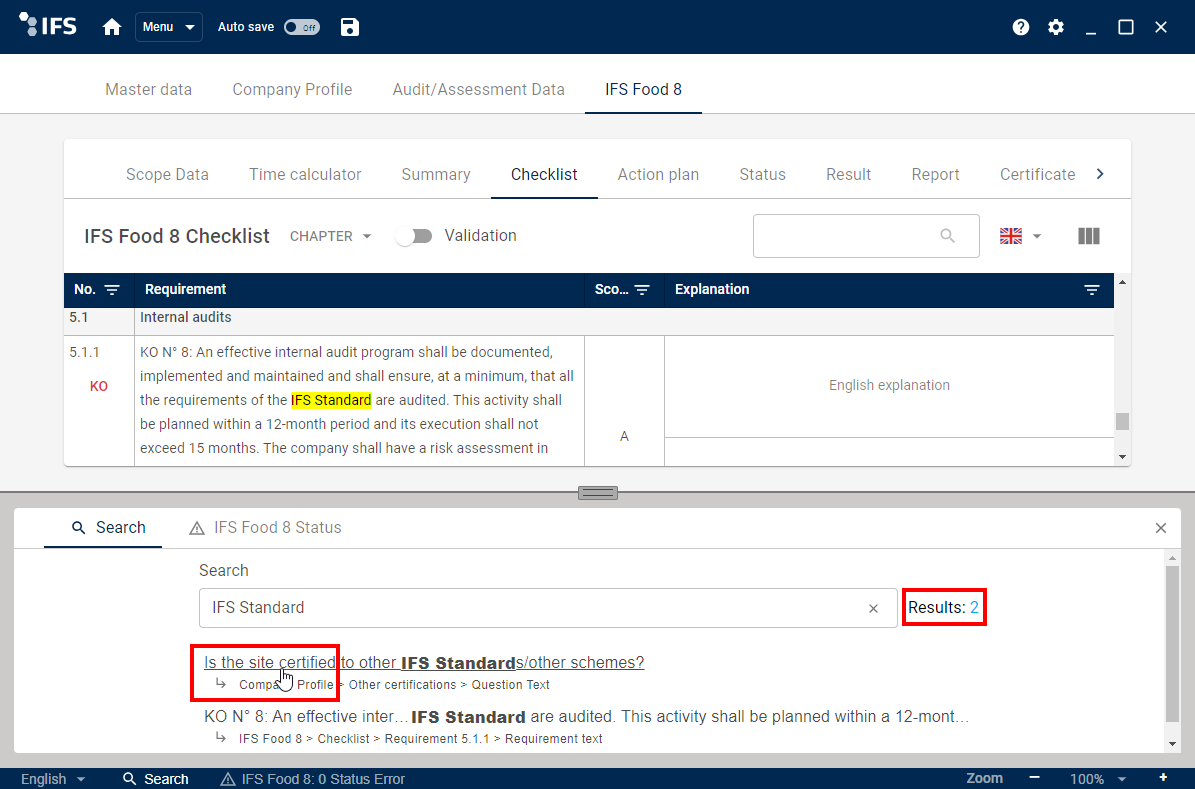
In contrast to the checklist search function (see checklist search function), the global search function scans the whole file and all tabs in the application for the entered key words.