Template editor manual
The template editor is a function to customise PDF documents, the software AXP Neo is generating. You can adjust the default certificates/letter of confirmations or reports cover pages and create completely own templates. The customized templates can be exported, imported and shared with other AXP Neo uses in your company (See import/export template).
Create a new template
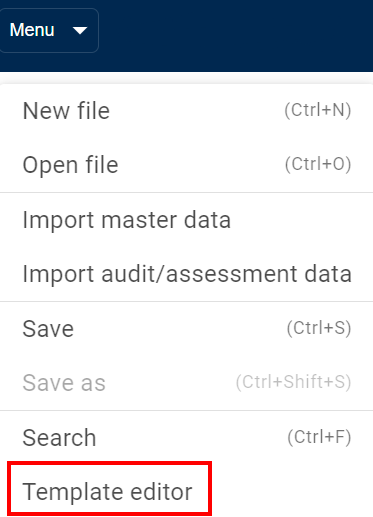
Open the template editor in the drop menu  under template editor.
A new template can be created, or an existing one imported under ADD TEMPLATE.
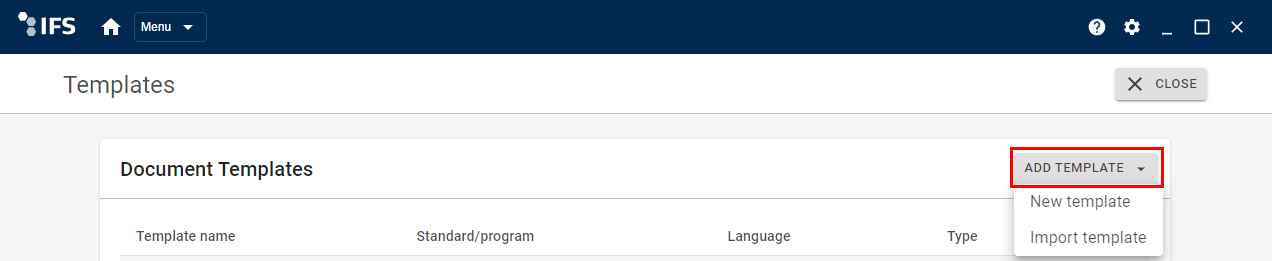
New template
Select New template to start a new document template.
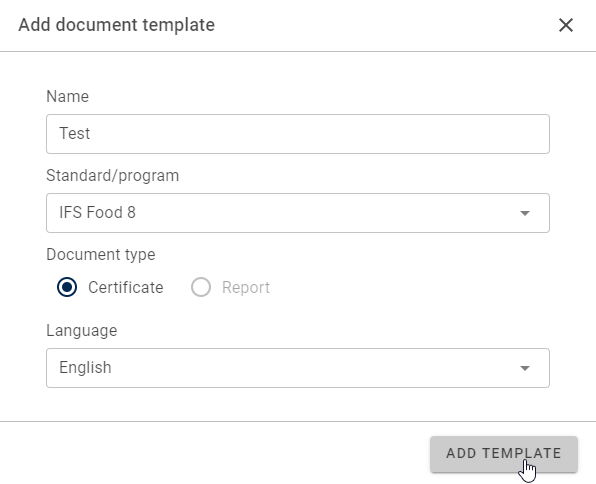
Insert the template name, select the Standard/Program, the document type, the language and create the template by clicking on ADD TEMPLATE.
Import/export template
Select Import template to import existing document templates. AXP Neo templates are saved with the file ending .ifs_template.
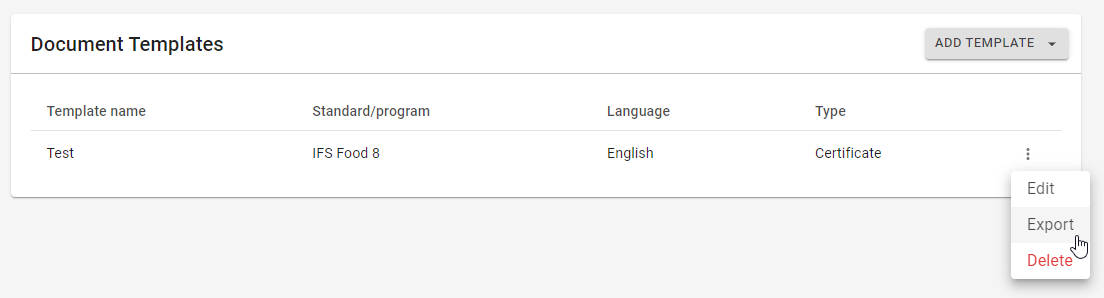
Existing templates can be exported, edited or deleted it under the icon ![]() .
.
Customise document templates
Either click in the template table on a template item or in the icon ![]() on edit to enter the editor.
on edit to enter the editor.
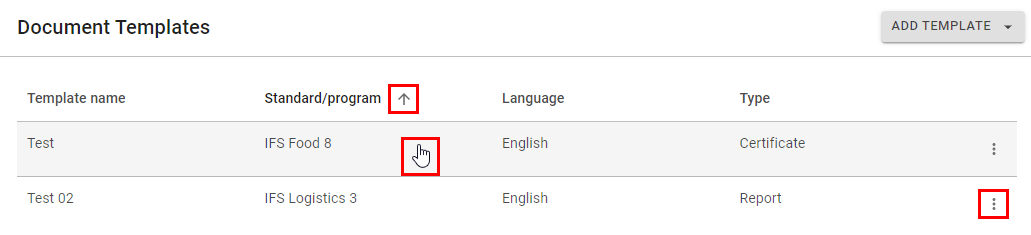
Click on the ![]() -icon to sort the list of templates in ascending/descending order from A to Z.
-icon to sort the list of templates in ascending/descending order from A to Z.
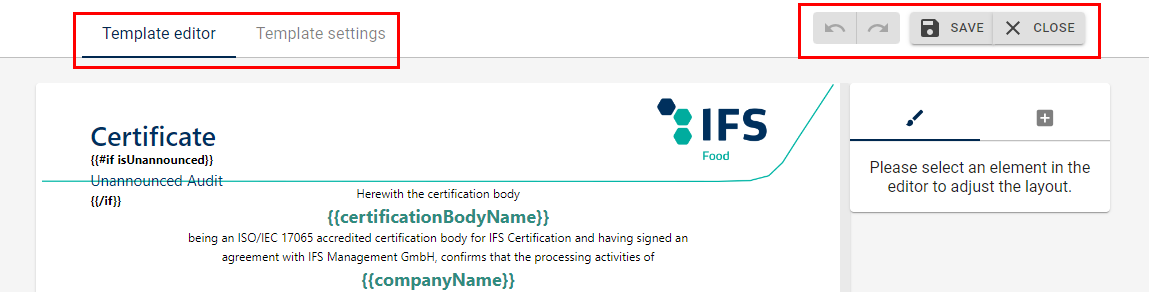
The editor shows two tabs:
- Template editor: In this tab, you can customise the document template.
- Template settings: In this tab, you can adjust e.g. the template name.
Furthermore, the menu bar of the template editor shows undo and redo buttons, as well as SAVE and CLOSE-buttons.
Edit elements
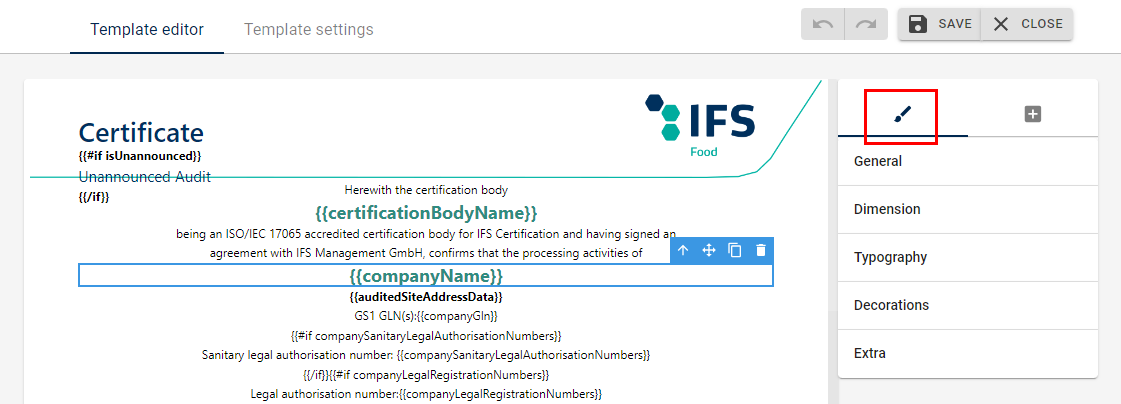
If you would like to adjust an existing element in the template, please click directly on the item you want to edit.

The selected item is now highlighted with a blue box. The box shows the following icons:
| Icon | Explanation |
|---|---|
Jump/select another item above | |
Drag and drop the selected icon to another position | |
Duplicate the selected item | |
Delete the selected item |
Furthermore, you can adjust the content of the item by a double click. The appearance of the selected item can be modified in the right menu bar under the pencil icon ![]() .
.
Explanation of functions:
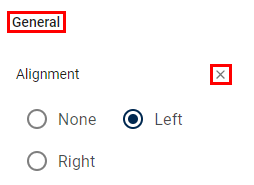
General:
Select the text alignment under General.
Click on ![]() to restore the original alignment.
to restore the original alignment.
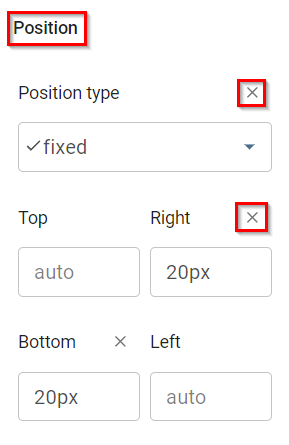
Position:
Set the location of an item on the template page under Position.
Define the Position type in the drop-down menu and/or type in specific values for the Top/Right/Bottom/Left position on the page.
Click on ![]() to restore the values.
to restore the values.
Use case: Movement of the QR code position on the certificate/letter of confirmation.
If you would like to move the QR code e.g. to the top of the certificate/letter of confirmation, you must:
- Select the QR code item on the template
- Adjust the “Top/Right/Bottom/Left” values
- Set the position type to “fixed”
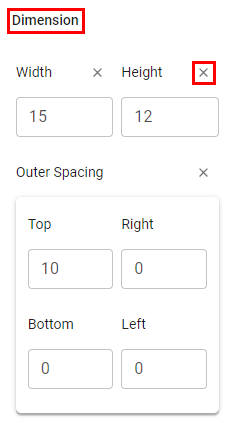
Dimension:
Set the item width and height under Dimension.
Set the spacing around the selected item under Outer Spacing.
Click on ![]() to restore its original dimension and spacings.
to restore its original dimension and spacings.
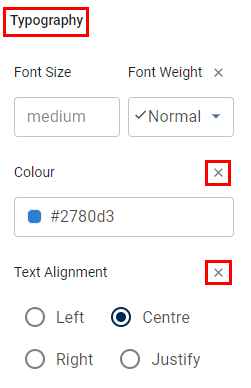
Typography:
Set the font, colour or text align under Typography.
Select the colour by entering the colour name/code or by clicking on the colour box to open the colour palette.
Click on ![]() to restore the original colour/align.
to restore the original colour/align.
Decoration:
Under Decorations, the background colour, border, etc. can be adjusted.
Click on ![]() to restore the original background colour, border, etc.
to restore the original background colour, border, etc.

Extra:
The opacity text can be adjusted under Extra.
Click on ![]() to restore the original opacity.
to restore the original opacity.
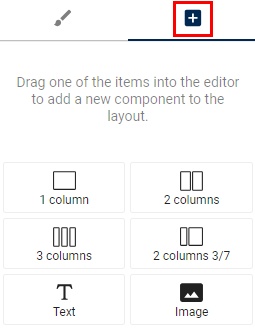
Insert new elements
If you would like to add a new item to the template, please click on the ![]() -icon.
-icon.
Here, a table, text field, or image can be added by drag and drop the respective block in the editor.
Images: Add an image item to the template by drag and drop.
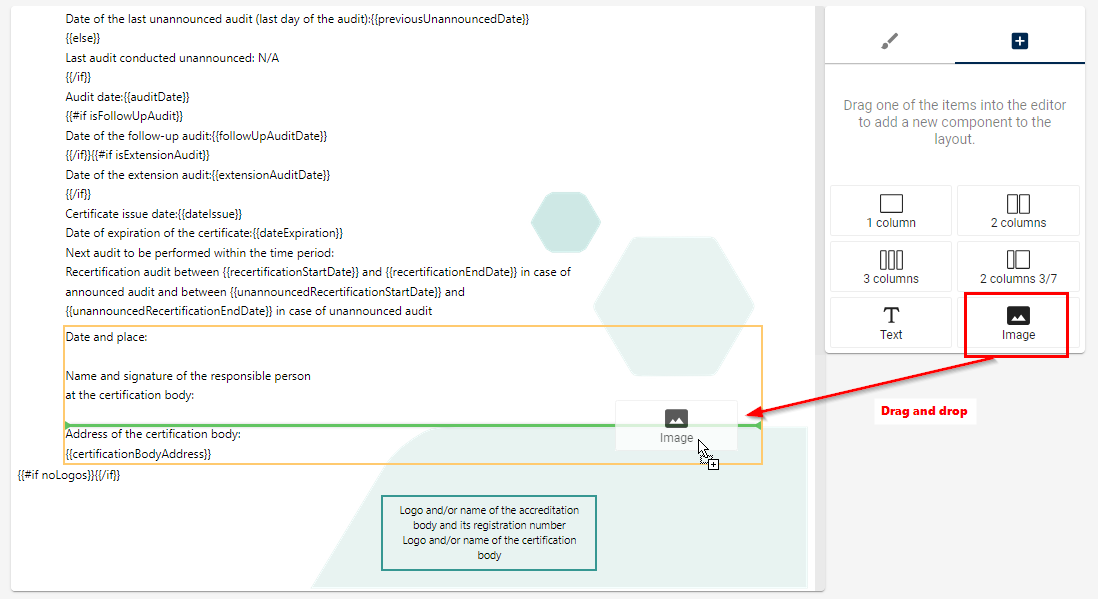
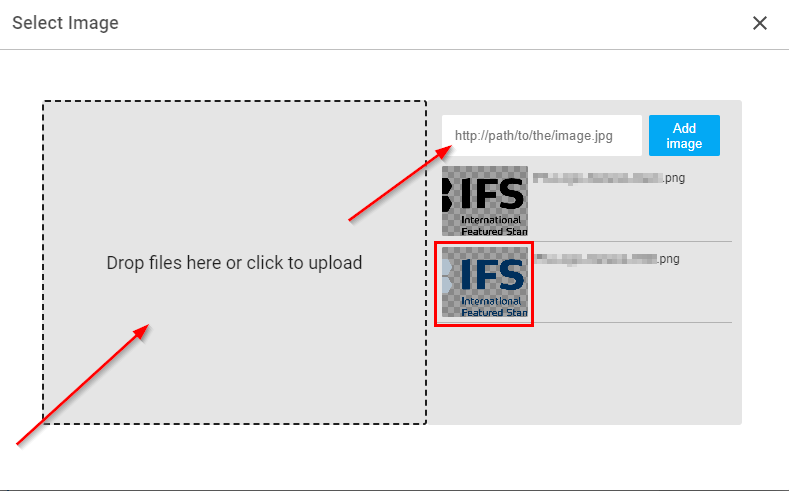
Click on the added image item to select the image file. Select the file from your computer by entering the image path or by drag and drop the image file.
Save the template
Click on the SAVE-button to save the changes on your template.
Exit the template editor via CLOSE-button.

Usage of customised templates
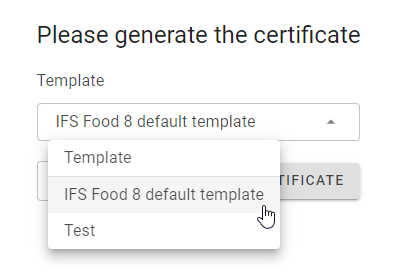
As soon as you have created or imported a customized document template to your computer, the certificate/letter of confirmation or report tab will show a template drop-down menu.
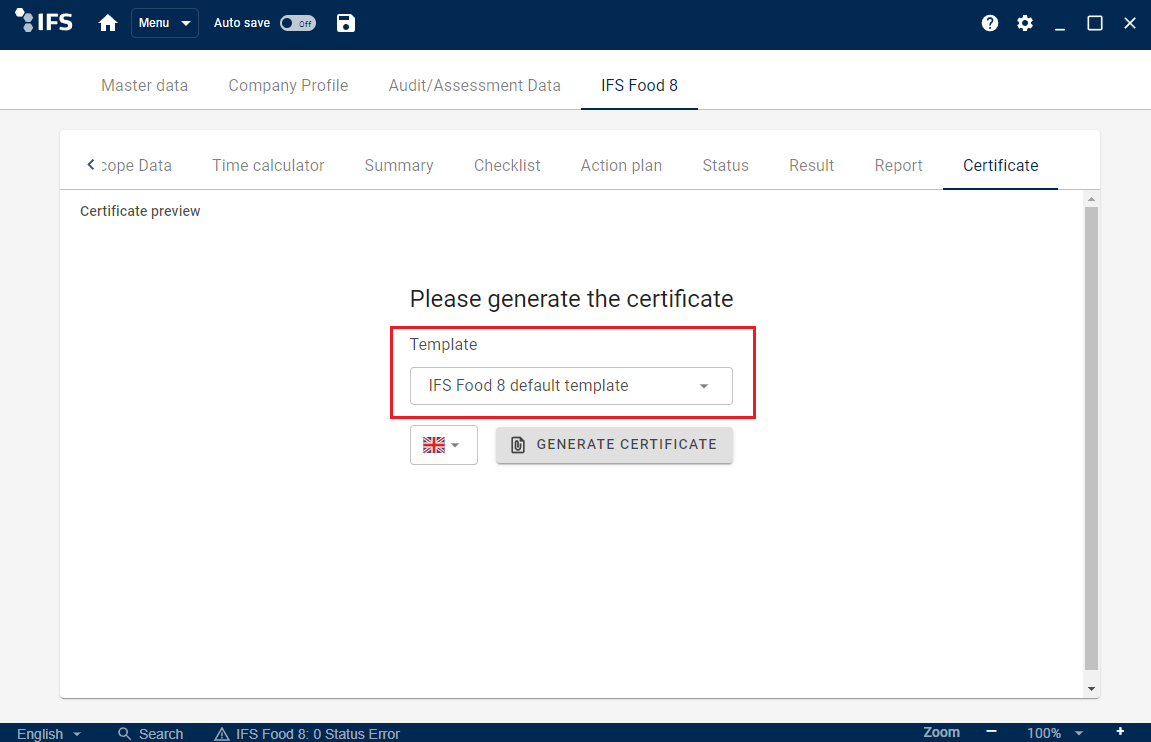
Your stored templates are shown in this drop-down menu.
Select the template you would like to use to generate the PDF document and click on GENERATE CERTIFICATE/LETTER OF CONFIRMATION or GENERATE REPORT.
If you would like to use the default IFS document template, please select IFS default template.